Bleeding your car’s cooling system is an essential maintenance task that ensures your engine remains at an optimal temperature. This step-by-step guide will walk you through the process of bleeding a car’s cooling system, helping you remove any air pockets that could cause overheating. Follow these instructions to keep your car running smoothly and efficiently.
Why Bleeding Your Car’s Cooling System Is Important
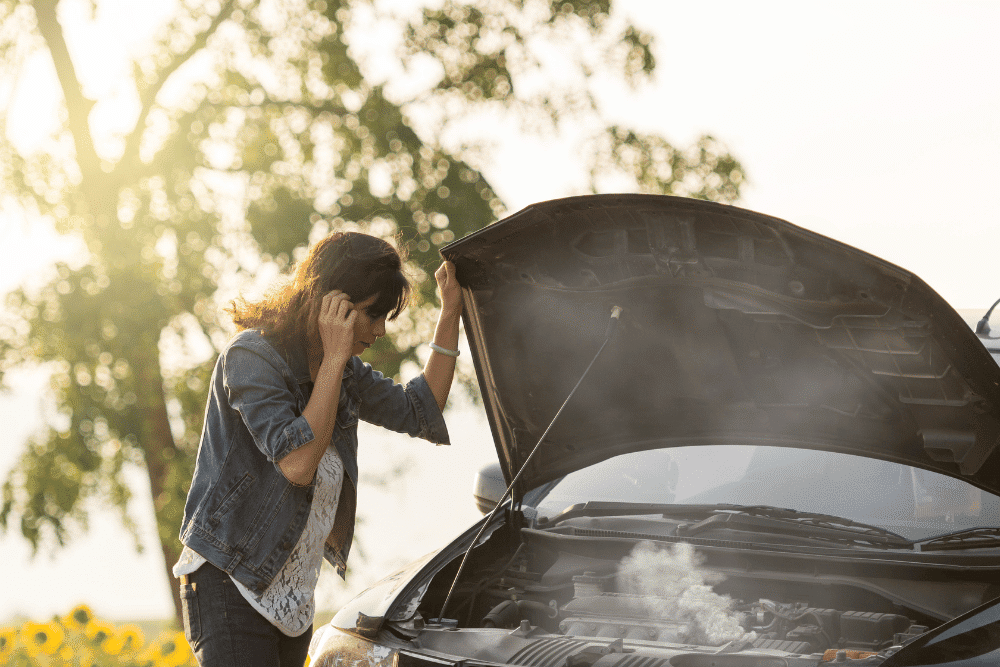
Air pockets in your car’s cooling system can lead to several issues, including engine overheating, reduced efficiency, and even engine damage. When you bleed the cooling system, you remove trapped air, allowing the coolant to flow freely and maintain the engine’s temperature effectively.
Tools and Materials Needed
Before you start, gather the following tools and materials:
- A set of wrenches and screwdrivers
- A funnel
- Coolant (check your car’s manual for the recommended type)
- A container to catch old coolant
- Gloves and safety goggles
Having these tools and materials on hand will make the process smoother and safer.
Step-by-Step Guide to Bleeding Your Car’s Cooling System
Step 1: Ensure Safety First
Before working on your car, make sure it’s parked on a level surface and the engine is completely cool. Open the hood and put on your gloves and safety goggles to protect yourself from any potential spills or splashes.
Step 2: Locate the Radiator and Coolant Reservoir
Find the radiator and the coolant reservoir in your car. The radiator is typically located at the front of the engine bay, while the coolant reservoir is a plastic tank connected to the radiator.
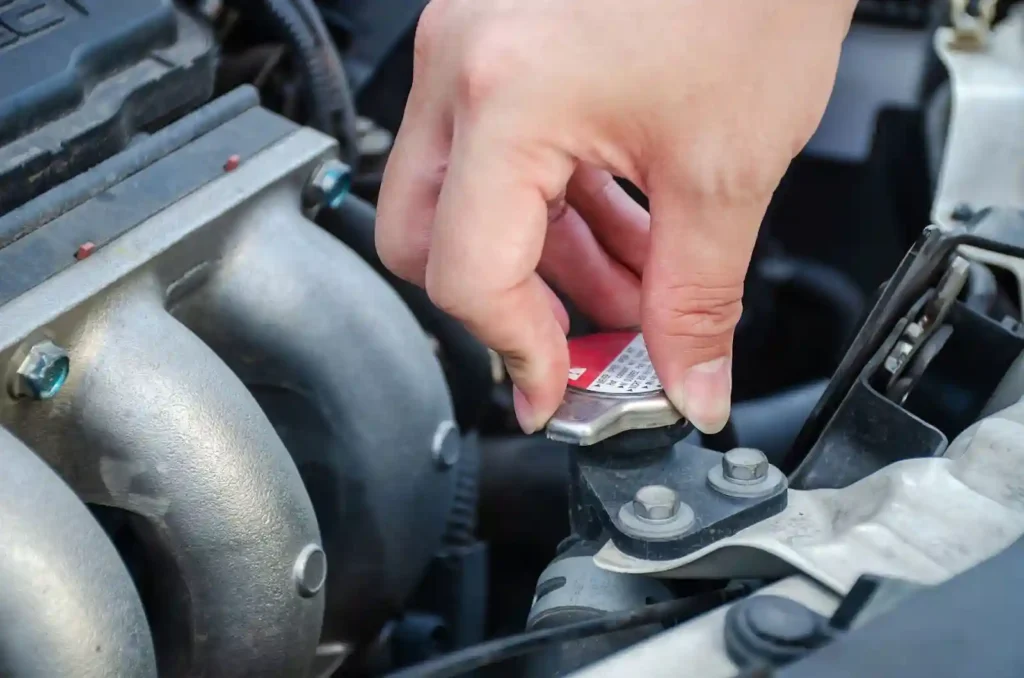
Step 3: Remove the Radiator Cap
Carefully remove the radiator cap by turning it counterclockwise. Be cautious, as there may still be some pressure in the system. It’s essential to do this when the engine is cool to avoid burns from hot coolant.
Step 4: Drain the Old Coolant
Place a container under the radiator drain plug and open it to let the old coolant drain out. Once the coolant has drained completely, close the drain plug securely.
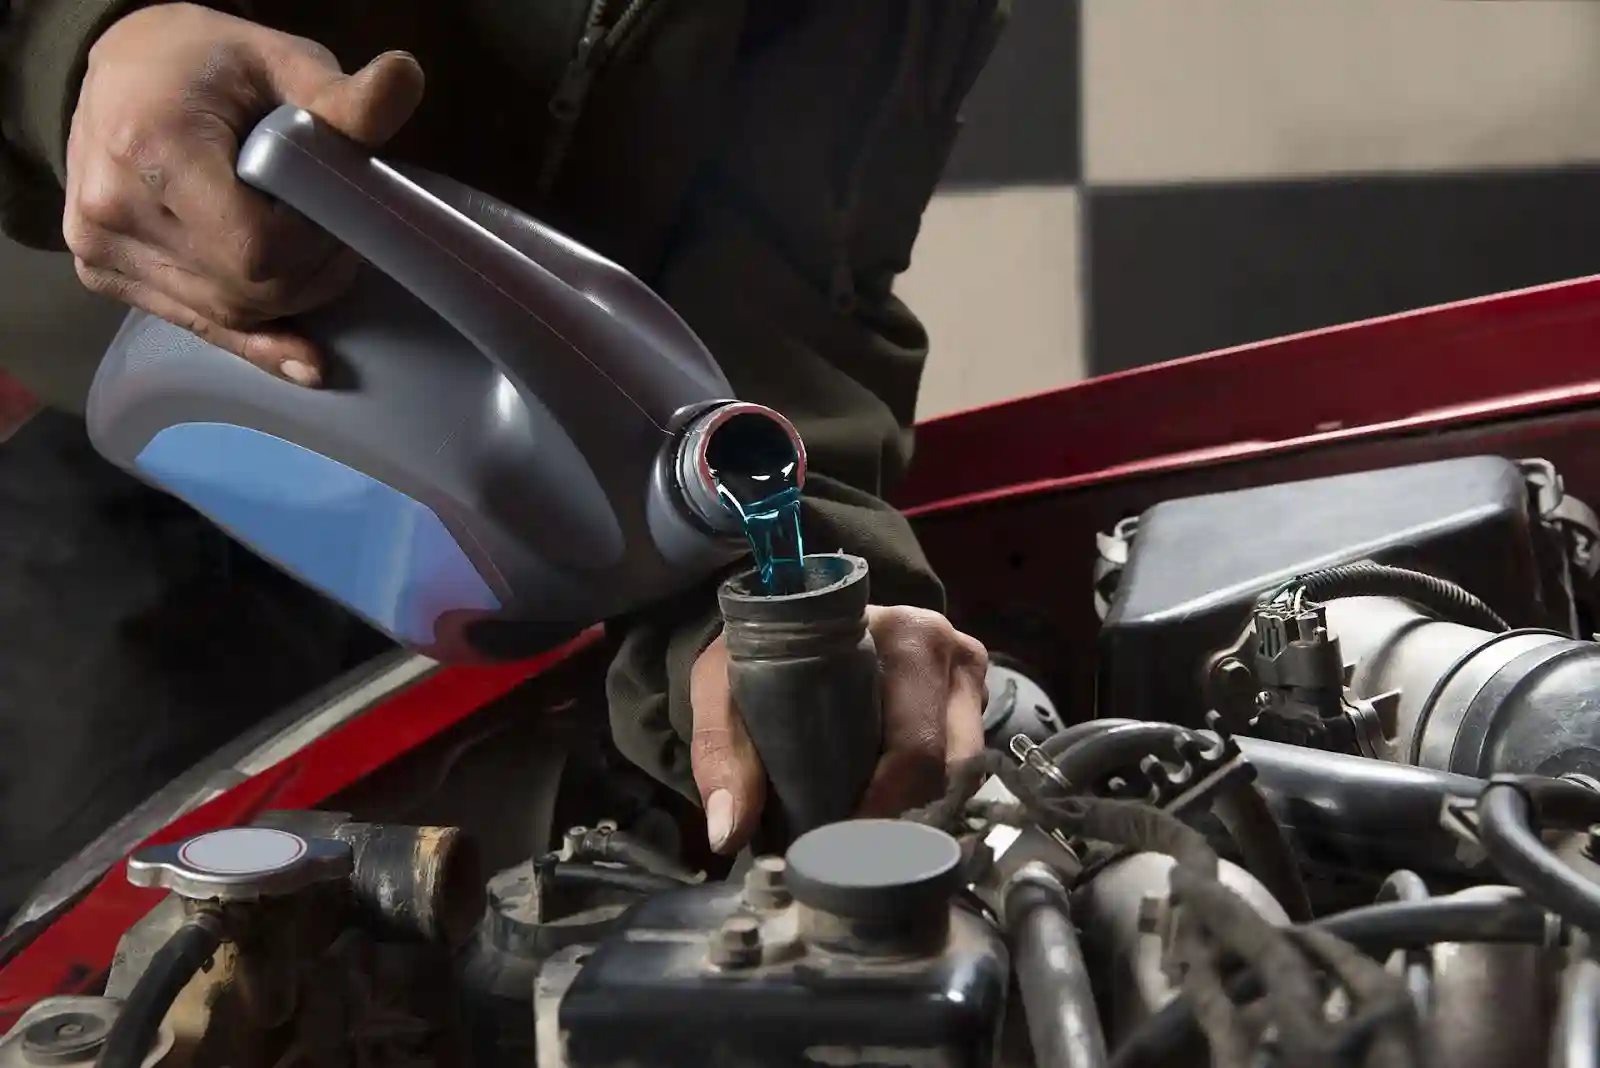
Step 5: Refill the Radiator with Fresh Coolant
Insert a funnel into the radiator opening and pour the fresh coolant slowly. Fill it until the coolant reaches the top of the radiator. This step ensures there is enough coolant in the system to work effectively.
Step 6: Start the Engine
Start the engine and let it run for a few minutes. This helps the coolant circulate through the system and allows any trapped air to rise to the top. Keep an eye on the temperature gauge to ensure the engine doesn’t overheat.
Step 7: Open the Bleeder Valve
Some cars have a bleeder valve located on the thermostat housing or near the water pump. If your car has one, open it slightly to release any trapped air. You should see coolant mixed with air bubbles coming out. When you see a steady stream of coolant, close the valve.
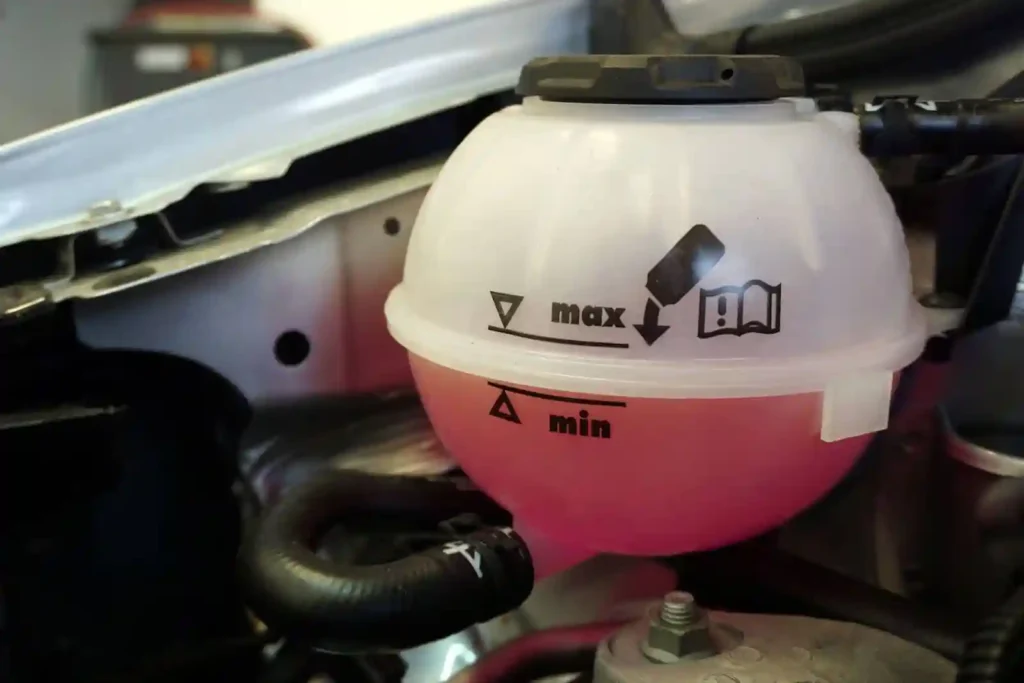
Step 8: Check the Coolant Level
Turn off the engine and let it cool down. Once it’s cool, check the coolant level in the radiator and the reservoir. Add more coolant if necessary to ensure both are filled to the recommended levels.
Step 9: Replace the Radiator Cap
After confirming the coolant levels are correct, securely replace the radiator cap by turning it clockwise until it clicks into place.
Step 10: Test Drive Your Car
Take your car for a short test drive to ensure the cooling system is working properly. Keep an eye on the temperature gauge and watch for any signs of overheating. If everything looks good, you’ve successfully bled your car’s cooling system!
BMW Water Pump Bleed Procedure
BMWs, known for their precision engineering, often have a specific procedure for bleeding the cooling system. Here’s a quick overview:
- Turn on the Ignition: Without starting the engine, turn the ignition to the “On” position.
- Set Heater to Max: Set the heater to the maximum temperature and fan speed to the lowest setting.
- Press the Gas Pedal: Press and hold the gas pedal for about 10 seconds. This activates the electric water pump’s self-bleeding mode.
- Wait: The water pump will run for about 12 minutes, circulating coolant and expelling air. After this, follow the standard steps to check coolant levels and for leaks.
Common Issues and Troubleshooting
Overheating After Bleeding
If your car continues to overheat after bleeding the cooling system, it could indicate a more serious issue such as a faulty thermostat or water pump. In this case, it’s best to consult a professional mechanic for further diagnosis and repair.
Coolant Leaks
After bleeding the cooling system, inspect the area around the radiator, hoses, and water pump for any signs of leaks. If you find any, address them immediately to prevent further issues.
Persistent Air Pockets
If you notice air pockets persist even after bleeding the system, you may need to repeat the process. Ensure you’re following each step carefully and giving the coolant enough time to circulate and release trapped air.
Tips for Maintaining Your Car’s Cooling System
- Regularly Check Coolant Levels: Make it a habit to check your coolant levels every few weeks and top up as needed.
- Inspect Hoses and Belts: Keep an eye on the condition of your radiator hoses and belts. Replace any that show signs of wear or damage.
- Flush the System Periodically: Every two years or as recommended by your car’s manufacturer, flush the cooling system to remove any buildup of debris and old coolant.
- Use the Right Coolant: Always use the type of coolant specified in your car’s manual. Mixing different types of coolants can lead to chemical reactions and damage to the cooling system.
Conclusion
Bleeding your car’s cooling system is a crucial maintenance task that can prevent overheating and keep your engine running smoothly. By following these step-by-step instructions and regularly maintaining your cooling system, you can ensure your car stays in top condition. Remember, if you encounter any issues beyond your expertise, don’t hesitate to seek professional help.
By taking these proactive steps, you’ll not only extend the life of your car but also enjoy a more reliable and efficient driving experience.